The kitchen scraps in your house, including fruits and vegetable peelings, don’t have to end up in the landfill; you can have them digested to offer essential nutrients.
Worm composting is an excellent way of turning waste into useful nutrients. However, you need to understand how a worm compost works for the best results.
Quick Navigation
- Compost Worms
- How Do You Start a Worm Composter?
- Should You Put Worms in Your Compost Bin?
- How Long Does It Take for Worms to Compost?
- What Is Better: A Worm Farm or Compost Bin?
- Where Can I Use Worm Compost?
- How to Get Your Worm Bin Ready in the Spring
- How to Use Worm Castings in Your Garden [VIDEO]
- Conclusion
Do you have a garden or potted plants?
If yes, then vermicomposting will be a perfect choice to offer you all the essential nutrients you need for your plants. Apart from offering the necessary nutrients, the worms are also an excellent way of keeping the environment clean.
Food waste, including kitchen scraps, make up almost half of the waste stream in most cities. It is not only expensive to collect, transport, and dispose of, but it is also a burden to the sewerage system.
If the food scraps are left in a landfill, the decomposing waste produces methane, which is a greenhouse gas. If you bury the food scraps, the nutrients are lost in the environment.
As such, composting offers the best solution in dealing with food waste. But how does worm composting work?
Compost Worms
Compost worms are not your ordinary garden worms that are found on the farm. Unlike the ordinary garden worms, the worms live on the surface layer of the soil, and they don’t make burrows.
You shouldn’t go out and dig out crawlers that live on the farm to put in your bin. Apart from tunneling through dirt to eat, the crawlers also can’t survive on vegetables and other kitchen scraps alone.
For the best compost, you should go for red worms, also known as red wigglers. The composting worms are a perfect pick for your bin.
The worms break down food scraps and other wastes into useful nutrients.
The finished compost has a neutral pH. It contains most of the useful elements that your plants need to grow healthy. They are smaller than the ordinary garden worms, and each worm can eat food equivalent to its weight daily.
Composting with worms provides a win-win situation. The worms offer a convenient way of decomposing organic waste such as vegetable scraps. On the other hand, the worms are happy with all the free food.
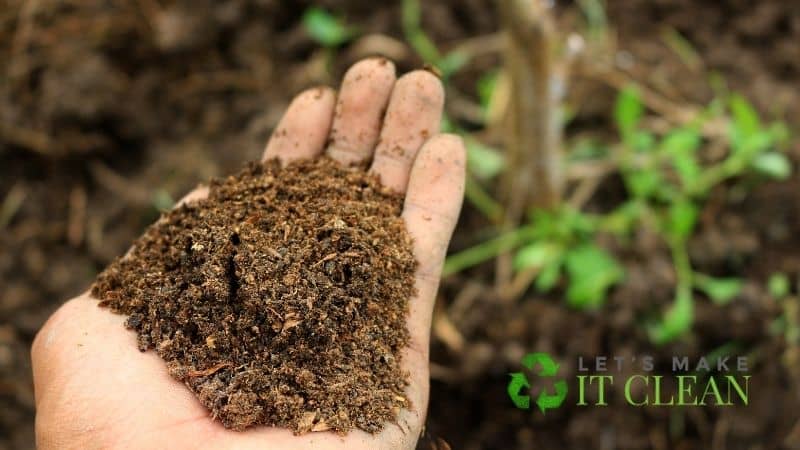
The finished compost is dark and rich and offers excellent conditioning. You can use the worms compost at any time, or you can wait for the gardening season.
How Do You Start a Worm Composter?
Do you have the worms and a bin? Well, you are halfway through to having worms in your bin recycling the kitchen scraps, including fruit and vegetable wastes into a nutrient-rich amendment.
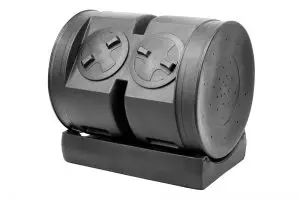
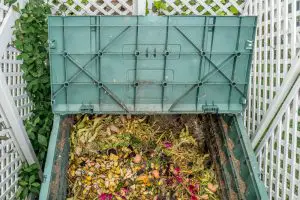
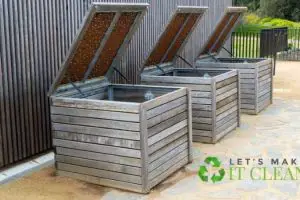
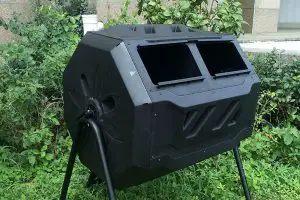
First, make sure you acquire a bin. You can reuse a fish tank or an old dresser. You can also build from wood or get a plastic bin. Ensure the worm bin is clean by rinsing it with water to remove any residue that can be harmful.
If you go for the wooden bin, line the bottom bin and sides with plastic. Ensure there are enough ventilation holes on the worm composting bin to allow for a conducive air temperature and an effective process.
Next, prepare the beddings. Instead of using soil, it would be best to use moist shredded paper as the bedding material. The red worms live in moist shredded paper. The papers offer food, air, and water.
After that, add worms to the worm composter. It’s essential that you know the volume of the worms to determine how much you need to feed them.
Next, bury the food scraps in the paper bedding. Feed the worms with kitchen scraps, including fruits and vegetables. Limit the number of citrus fruits in the worm bin.
You can also use tea bags in the bin. It would be best to rip them open as the string and paper may take longer to decompose.
Note, you shouldn’t use oils, dairy products, bones, or meat scraps in the worm bin. Then, put a sheet of newspaper on the bedding to maintain a balance in moisture and to keep fruit flies at bay. Replace the sheet if it becomes wet.
Cover the worm bin and choose an appropriate position to place it. Cover it with plywood, cloth, or plastic but leave the lid open to aerate the worm bin.
Feed the worms once a week and if the beddings dry, spray with water.
Should You Put Worms in Your Compost Bin?
You don’t need to add any worms to your worm bin. Composting takes place even when there are none in the bin. Worms usually find their way into a pile.
However, nothing stops you from getting some and adding them to the bin. You can purchase them from worm selling sites.
Alternatively, you can find an appropriate time and visit a horse stable and recover the worms from the horse manure.
If you provide the worms with the necessary food and a good home, they have a probability of doubling their population in 90 days. Therefore, it is advisable that you start with a few ones and expect the population to increase.
How Long Does It Take for Worms to Compost?
As the Red Wiggler worms (Eisenia foetida) feed, they take large volumes of the organic matter and digest it. They then extract the value and then extract the worm castings which are residues rich in nitrogen, phosphorus, potassium, and other micronutrients.
But how long does it take to turn the waste into the nutrients gold?
The vermicomposting process takes an average of three to six months. More specifically, 2 pounds of worms will take 24 hours to compost one pound of waste.
How long the vermicomposting process takes depends on various factors, For instance, you should ensure you use the appropriate bedding material for a happy home. The speed of composting also depends on the amount and type of food.
If you want to speed up the process, here are a few hacks that can help you:
Cut the Food Into Smaller Parts
Cutting them into smaller parts helps in speeding up the process. Instead of throwing in a whole piece of vegetable peel in the bin, you can slice it to bits. The worms will eat smaller pieces faster.
Smaller bits break down easier.
Turn the Bedding
The bin contains microbes that help in breaking down each organic material. The microbes require oxygen to work efficiently. Thus, it would help if you turn the beddings often to offer enough aeration.
You can also add holes in the bottom and side of the bin to enhance the aeration.
Keep the Bin Hydrated
You should keep worms happy and comfortable to get the best results. As a worm bin owner, you should check the bin to see if it is dry. They like a moist but not wet environment.
If the bin is well hydrated, it makes it easy for the worms to move around and make quick worm castings out of the scraps. You can hydrate the bin with some water or give foods with some liquid in it. Don’t overpour as excess moisture can drown them.
Maintain a Balance
It is essential that you add a variety of foods to the vermicomposting bin. The worms may suffer the consequences if you offer too much of one type of food.
For instance, they love coffee grounds. You can mix them with other types such as organic paper waste, and kitchen scraps to maintain a balance.
What Is Better: A Worm Farm or Compost Bin?
You can have bins alone, or you can have worm bins and a pile.
Each has its pros and cons. For instance, worm bins are an excellent option, but they may not be the best when you have bulky waste. For instance, you can use grass clippings in a worm bin but not too much of it.
Worms are also choosy. For example, they will coil away from any scraps with chili. Also, you may have to chop the scraps into small bits for the best results.
A compost pile is an excellent option, especially with bulk scraps. On the downside, an open pile is more prone to an unpleasant odor and attacks by mice.
Where Can I Use Worm Compost?
You can use it like any other high-nutrient fertilizer. You can mix it in around your plants, or you can sprinkle it on the surface.
You should be careful with the amount you use as too much of it can burn the tender stems.
You can also use the liquid that drips from the bottom of the bin, which is concentrated compost tea. You should dilute the tea in a ratio of 1 part leachate to 10 parts of water. This helps to prevent burning the plants.
How to Get Your Worm Bin Ready in the Spring
First, dig around it and see if there are undigested scraps. If there are, give the worms more time. Secondly, harvest the finished compost. As you do so, separated all the undigested scraps, eggshells, etc.
If after you harvest the worms don’t have enough wiggle-room, you can add more bedding material. You can use newspaper shred, coconut coir, etc.
Take a census and then evaluate your bin. Is it too small or too big? If it is too small, you may want to have a new bin.
How to Use Worm Castings in Your Garden [VIDEO]
Conclusion
There you have it. A detailed account of how a worm compost works. You can use the tips to ensure you get the best value.
If you want, you can check out YouTube videos for more worm composting basics.

