Most people are already fully familiar with composting. However, the rise in popularity of compost tumblers can be a bit confusing to some.
As it’s basically a completely different composting container, it’s just natural that some people are wondering how to start a compost in it.
Quick Navigation
- A Step-by-step Guide on How to Start a Compost Tumbler
- 1. Look for a Good Spot for Your Compost Tumbler
- 2. Collect Your Green Waste
- 3. Collect Your Home’s Brown Waste
- 4. Put the Waste in the Compost Tumbler When You Already Have Enough to Fill It
- 5. Observe a Good Green to Brown Waste Ratio
- 6. Add Compost Accelerator to the Mix
- 7. Turn the Compost Tumbler According to the Manufacturer’s Instructions
- 8. Monitor Your Compost for Foul Odours and Compost Progression
- 9. Check Your Heap After Two Weeks for Doneness
- Bonus Video: How to Start a Dual Batch Compost Tumbler
- Conclusion
To help you with that, here’s a detailed guide that you can turn to:
A Step-by-step Guide on How to Start a Compost Tumbler
1. Look for a Good Spot for Your Compost Tumbler
Your compost tumbler’s location plays a huge role in its composting ability. This is mostly because where it sits can define the amount of warmth and moisture it gets from its environment.
Experts say that you should opt for a covered area that will prevent excessive moisture penetration to the container. As compost tumblers are already prone to having high amounts of moisture inside due to them as they are not designed with good drainage in mind, minimizing the moisture it gets from the air will help the decomposition process progress nicely.
Putting the compost tumbler in the shade can also help protect it from getting too much sun. If it’s too hot inside your tumbler, the microbes can die and it will halt your composting process.
If you think it’s too cold in the shade, you can always cover your compost tumbler to help contain its warmth better.
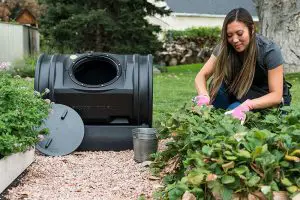
2. Collect Your Green Waste
Collecting the waste you need for your heap is the next important step for starting a compost tumbler. All the biodegradable waste in your kitchen counts as green waste and is designed to bring moisture and nutrients into your pile.
The grass cut from your lawn and the fresh leaves from the trees in your yard also count as green waste.
If you have the time, it’s best to chop, mince, or shred your green waste into smaller pieces. This will help the microbes break down the materials faster and make the decomposition process quicker.
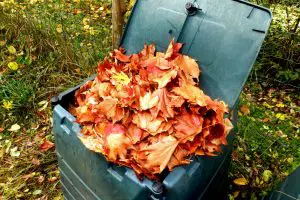
3. Collect Your Home’s Brown Waste
Brown waste like paper, eggshells, dried leaves, and wood products help balance your heap. They’re essential because they increase the carbon richness of the mix. They also help control the moisture, so your heap won’t be a smelly, slimy mess.
4. Put the Waste in the Compost Tumbler When You Already Have Enough to Fill It
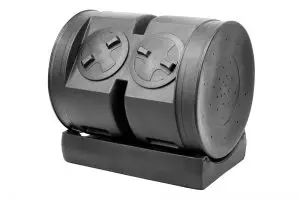
Using the Batch Pile method would be best for a compost tumbler as it offers the fastest and most efficient results. This technique involves filling the container to its capacity and not adding new waste to it as it decomposes.
This means that you have to collect a large amount of waste before starting to use your compost tumbler. It will allow continuous decomposition as all the ingredients will be broken down at the same rate.
This guarantees a sizable amount of nutrient-dense fertilizer in just a few weeks under the right conditions.
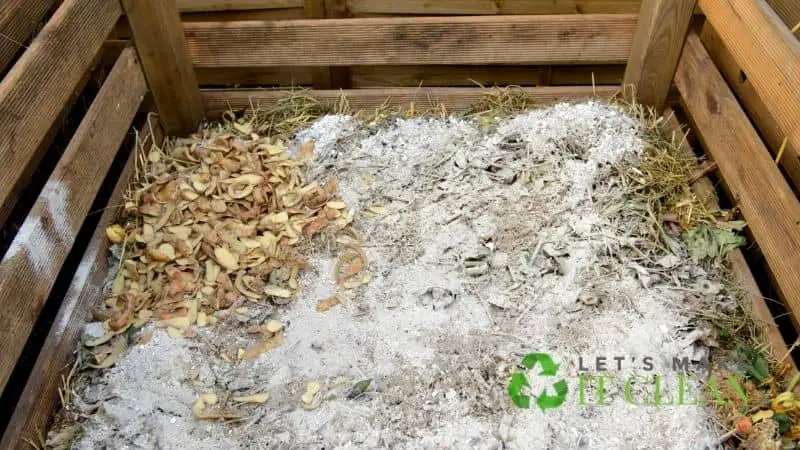
5. Observe a Good Green to Brown Waste Ratio
It’s also very important to pay attention to the number of greens and browns in your heap. Some recommend using one part of greens for every three parts of browns. This will help ensure that the greens won’t add too much moisture to the pile.
However, if you live somewhere warm, having too many browns might result in a dry heap. This is why some people recommend starting with a 1:1 ratio and then working from there to achieve the right rate of decomposition.
6. Add Compost Accelerator to the Mix
To really get the composting process started in a compost tumbler, it’s best to add some compost accelerator. This amendment is designed to introduce bacteria and microbes that will jump-start the decomposition process of your heap.
Adding such to a compost tumbler is deemed important by many as these tumblers are enclosed and away from the ground. Bacteria might take a while to get into the heap because of this, so it’s best to initiate the contact to start the process.
7. Turn the Compost Tumbler According to the Manufacturer’s Instructions
Now that everything’s in place, you just have to remember to turn or roll your compost tumbler every day to aerate the compost evenly. This can guarantee faster decomposition which can give you the results you want in just a few weeks.
8. Monitor Your Compost for Foul Odours and Compost Progression
To ensure that your compost is coming along nicely, make sure to check it every now and then. Watch out for foul smells as it can indicate an imbalance in your compost. You can adjust accordingly by adding more greens or browns, depending on what your heap needs.
9. Check Your Heap After Two Weeks for Doneness
Most compost tumblers say that they can create compost in just two weeks under favorable conditions. So, if you think your conditions are suitable to produce compost in just a short period, give it a go and check your tumbler after two weeks. If it’s not ready yet, let it completely decompose with the help of consistent turning and monitoring.
Bonus Video: How to Start a Dual Batch Compost Tumbler
Conclusion
Using a compost tumbler may seem a bit daunting at first, but in actuality, it can be way simpler than using an actual compost bin. Give it a shot and discover how easy composting can be.