There are specific ways to properly prepare your worm colony if you want to get mature compost quickly. Setting an ideal environment for them and also picking the right worms makes a whole difference.
Speeding up worm composting involves picking suitable worms and setting up an ideal living environment for them. You should offer your worms the right foods, maintain optimal temperatures, adequate aeration, suitable moisture levels, and more.
Quick Navigation
Let’s look further into the best ways of speeding up worm composting.
How Long Does It Take Worms to Make Compost?
The worm composting process typically takes three to six months to complete. The worm population in your bin and the worm species affect the rate at which composting progresses. Usually, you’ll need one to two pounds of worms to clear a pound of kitchen waste.
The level of material balance and the time your worms start multiplying may also lead to variations in how long vermicomposting takes.
That said, how can you improve the rate of waste processing in worm bins?
Small Food Sizes Are Ideal

Are you always throwing in an entire banana peel or large chunks of starch to your worm composting bin?
It’s best to start slicing them up into square centimeter sizes or put them in a food processor. Small bits decompose faster, which eases things for your worms.
Worm Bin Sizes
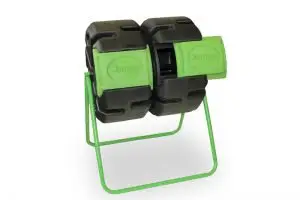
The bigger the worm compost bin, the more worms it can accommodate, and the quicker you’ll get nutrient-rich castings and worm tea. Bigger containers are better at heat capturing and retaining than small ones. This eases things when attaining the ideal temperature for your worms.
Still, the worm bin you’ll get depends on the amount of free space available. If you use a small worm bin, have it in a sunlit area, shelter it during cold months, and ensure there are adequate but not excess moisture levels.
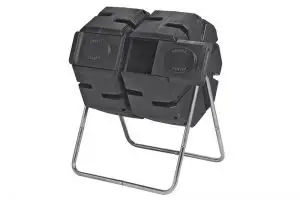
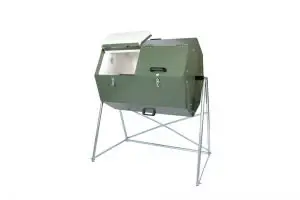
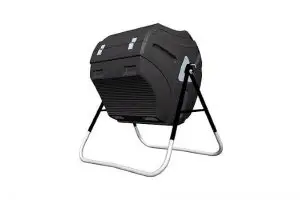
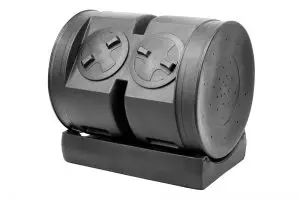
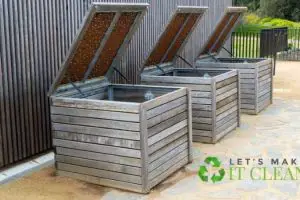
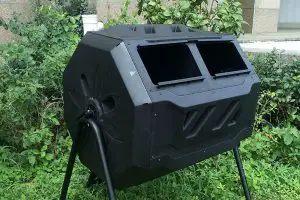
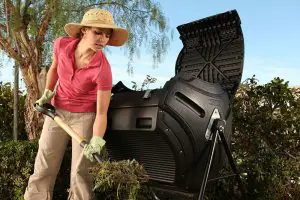
The construction of your worm bin is another essential factor. Unlike wood and cloth bins, plastic worm bins have better heat retaining capability, which speeds up the decomposition process.
Maintain Optimal Temperatures in Your Worm Bin
Keeping your worm bin warm during summer and spring is hassle-free. But what should you do during winter to ensure your worms remain alive and active?
A plastic worm bin is better at retaining temperature during cold months than fabric bags and wooden bins.
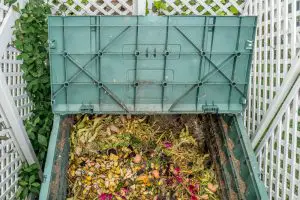
Insulate your bins by adding shredded grass clippings or cardboards. A sturdy lid offers protection against rain. It’s best to have your composter indoors where air temperature ranges from 50 to 80 degrees Fahrenheit in colder seasons.
You can place it in your kitchen if it has ample space. Still, a garage or basement can protect from the harsh outdoor conditions.
Provide Adequate Aeration
Some people wonder if a slight stir of the mixture is ideal. While turning your compost in a typical setting promotes aeration, it isn’t suitable in a vermicomposting situation. This is because you may hurt and upset the worms.
Besides, your compost is usually in layers, with the lower ones consisting of castings and the upper ones of the unfinished waste products. You wouldn’t want to get undecomposed chunks in your lower layers while harvesting, would you?
Another way to avoid this error is by adding scrunched papers together with your kitchen scraps. These trap oxygen pockets ensuring your worms stay alive.
The type of bin you use affects the amount of airflow within your compost. Fabric worm bags offer enhanced breathability.
If you go for a plastic or wooden bin, look at the number of air vents and their location. Your bin should provide ample aeration throughout the pile.
Searching for a bin with a spigot or worm tea collector tray? Leachate is one of the best fertilizers you can get from a worm composter, but its accumulation in your bin hampers aeration.
With proper airflow, you’ll have worm castings and leachate in only three months.
Have an Appropriate Balance

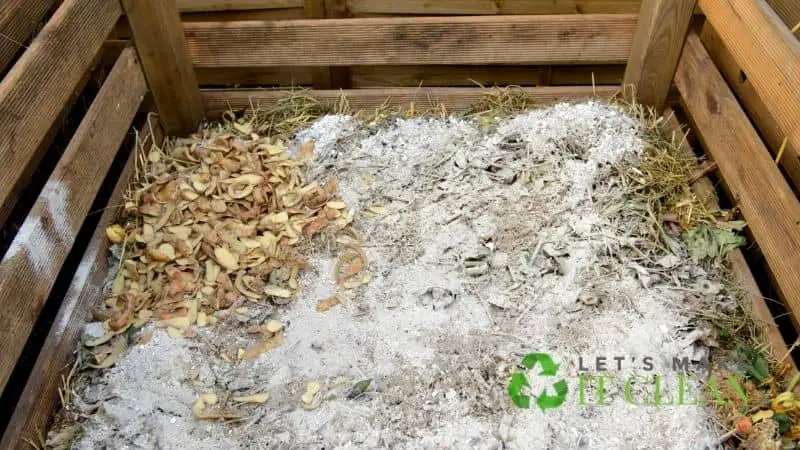
The right carbon and nitrogen ratios in your worm bin are ideal for optimal conditions. Carbon comes from brown materials like cardboard. These add to your compost’s bulk and act as food for your worms and other micro-organisms.
Green materials like vegetables and fruit peelings are rich in nitrogen. Nitrogen-rich materials heat your compost pile. Thus, they provide ideal conditions for the fast multiplication of your worms and vital micro-organisms.
Therefore, your worm bins should have proportionate green and brown matter to promote the right temperature levels.
Adding a variety of foods to your worm bin is crucial. Adding excess foods of a particular kind affects the functionality of worms.
Foods of different kinds, such as mixing kitchen scraps with organic paper waste, promote an excellent environment for your worms’ well-being.
Optimal Moisture for Composting Worms
The moisture level in your bin should be around 50%. Inadequate moisture supply hampers worm respiration and may lead to worm mortality.
If decomposition converts to anaerobic, you ought to restore a healthy environment to prevent worm death.
- Lower the moisture levels and have drainage holes to get rid of excess liquid.
- Reduce the addition of food scraps containing high moisture content.
- Add fresh, dry materials like shredded newspapers to your vermicomposting bin and mix them well.
Is Vermicomposting Faster?
Traditional composting occurs in about eight weeks; however, it requires an additional four weeks to complete curing. Curing involves the further breakdown of organic acids, large particles, and several other compounds still present after decomposition. Inadequate curing of compost may destroy your plants.
Vermicomposting takes a shorter time than traditional composting.
Moreover, vermicompost is excellent for immediate application to your garden and needs no curing. That’s because your worms feed on waste converting it to worm castings that have a neutral pH.
A study published on Springerplus indicates that vermicomposting fastens decomposition by two to three times. It hastens the conversion of waste products to biofertilizers and produces more homogenous materials than traditional composting.
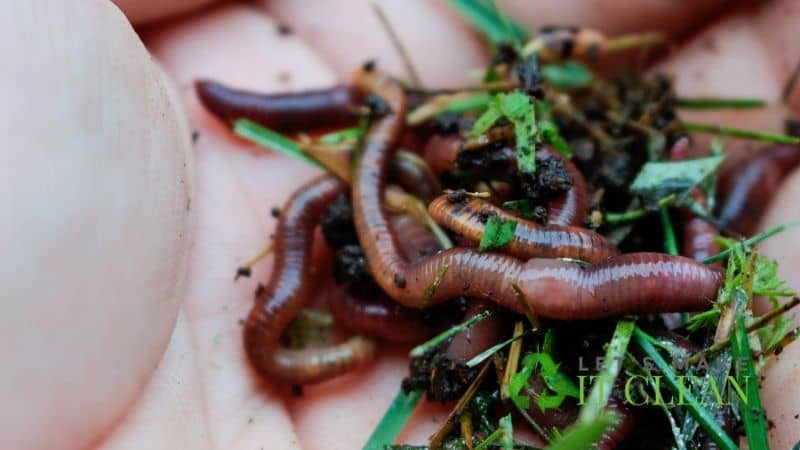
What to Feed Worms to Make Them Big
Red wiggler worms survive on the microbes that eat decomposing matter. Since worms lack teeth, they don’t munch on the food. Worms require two primary compounds in their diet: nitrogen and carbon products. Carbon materials provide bedding materials for your worms besides food.
Not all kitchen scraps you’ll offer your worms are ideal for vermicomposting. So, what foods provide the ideal conditions to fatten up your worm?
Some of the carbon materials that provide optimal conditions for your worms include:
- Shredded newspaper, cardboard, and other papers
- Egg cartons
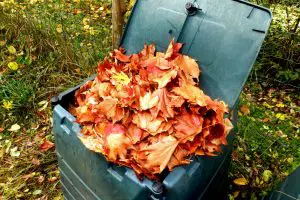
- Dry crunched leaves
- Eggshells
- Hair
- Lawn clippings
Nitrogen-rich materials ideal for your worms include:
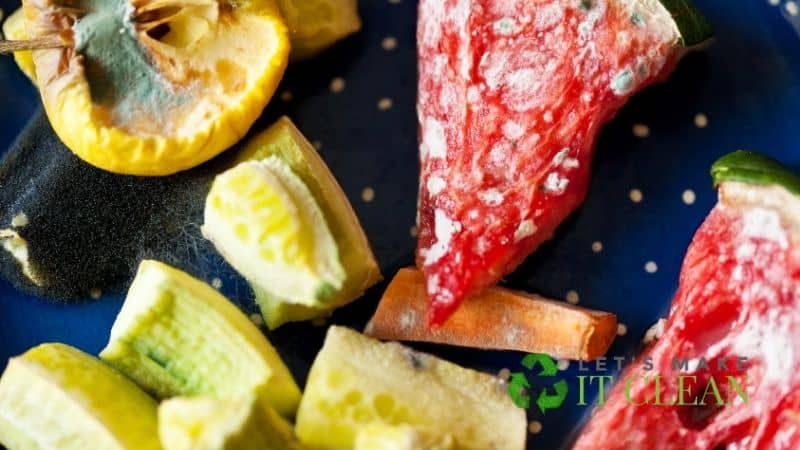
- Fruit and vegetable scraps (use more vegetables than fruit)
- Stale bread (see how to compost stale bread)
- Pasta
- Grains
- Tea Bags
- Unbleached filters and Coffee grounds- occasionally
- Horse manure
Whether you want finished compost within a short while or have time to leave it to mature, you should never add some materials to your worm bin.
Avoid using substances like:
- Onions
- Dairy food
- Salty food
- Meat scraps
- Citrus
- Acidic food
- Tough fruit seeds like those of avocado
- Diseased plants
- Pet droppings, especially a dog’s and cat’s
- Coal ash
- Inorganic components like glass and scrap metal
- Products containing chemicals like pesticides and herbicides
Picking the right foods while providing optimal temperature and aeration ensures the flourishing of your worms.
Can I Just Add Worms to My Compost Bin?
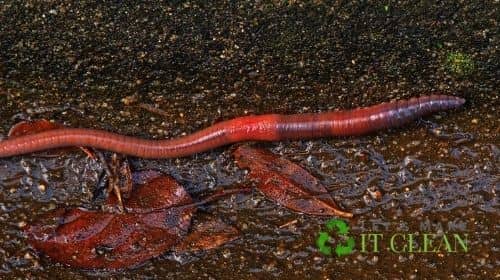
If you want to introduce worms to your compost bin, ensure you get a suitable worm species. Not all kinds of worms enjoy the conditions in a compost bin. For instance, if you search for worms from your garden, they may not stay in your composter if you use an open bin.
Most will wriggle to your bin’s base and burrow into the ground. And if you are using an enclosed tumbler, they may die.
So, which kind of worms should you use in your bins?
Red Wigglers/ Red Worms (Eisenia foetida)
These are the best worms to add to your composting bin. Red wigglers are excellent for feeding on large quantities of rich organic matter.
They can withstand a wide temperature range and are therefore excellent for year-round vermicomposting. Some of the best red worms include Uncle Jim worms.
Still, night-crawlers are an excellent alternative, and they can go for longer periods with minimal food.
Conclusion
Speeding up the vermicomposting process is hassle-free. Maintain warm but not hot temperatures in your bin. Choose a suitable potting soil. Shelter your bin from excessive moisture, keeping it moist at about 50 percent.
Use the right amount of foods in your composter and slice them into tiny chunks. Within a short while, you’ll have a lot of castings and worm tea for your plants.