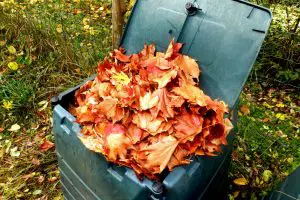
Worm composting is an effective way of enriching your garden for better yields. Additionally, having a worm bin is an excellent way of keeping the environment clean.
All the scraps don’t have to end up in the landfill. You can have them eaten by compost worms, which in turn produce worm castings that are rich with nutrients.
Quick Navigation
But do you have to buy a worm bin? How about saving some money by making your DIY worm farm bin? If you decide to go the DIY way, how do you go about making the worm bins?
How Do You Set Up a Worm Bin?
Whether you are a beginner in composting or a pro, making your own bin is something you can do easily.
Having a worm bin helps you to recycle the food scraps in your kitchen. You can use the compost from the worm bin to enrich your soil.
The nutrient-rich worm castings help your plants to thrive. Not to mention that vermicomposting is also good for the environment.
So, if you want to make your worm bin, how do you do it? Follow us for a seamless step-by-step guide on how to make a worm bin.
For starters, you need to decide whether you’ll buy the can or you will reuse an old trash can.
If you want to reuse an old one, here are the steps to follow:
Old Trash Can
Step 1: Clean the Worm Bin
If you want to reuse a trash can or bucket, there is a possibility of having non-biodegradable remnants in the bucket. As such, it would be helpful that you thoroughly clean the worm bin to get rid of any biodegradable materials.
Step 2: Drill Holes
Starting from a few inches from the lid, make sure you drill holes on the bucket. The second hole should be approximately three inches from the first one.
Continue drilling until you have holes across the length and width of the worm bin.
Step 3: Clean the Worm Bin Again
After you have holes all around the worm bin, including the bottom of the bin, you should thoroughly clean the trash can again.
Clean out the plastic shavings that were created as you were drilling the holes.
When the bin is clean, you can continue to put the food scraps for vermicomposting.
Using a New Can
On the other hand, you can decide to buy a new can instead of reusing an old one. To make a compost bin using a new can, use the following steps:
What do you need:
- a plastic tote
- soil. outdoor varieties or organic potting
- shredded newspaper or office paper
- kitchen scraps such as eggshells, bread, tea bags, coffee grounds, vegetable and fruit scraps. You can also have coconut coir, which helps to get rid of bad odor. Avoid using animal by-products such as dairy or meat. Also, you should avoid citrus fruits.
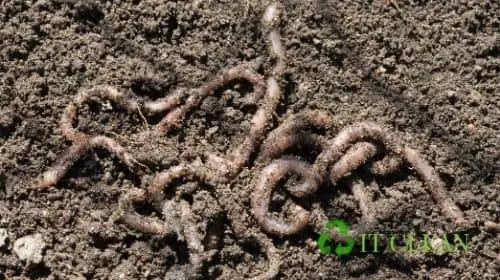
- pound of worms. Red wigglers are the best instead of earthworms. Earthworms may die if there is no enough soil to burrow.
Step 1: Drill Holes
Vermiculture starts by drilling holes in the bin to ensure sufficient aeration and getting rid of excess liquid.
For the best results, you should power drill the holes at the top and near the bottom of the bin. Line the holes with a fiberglass screen to ensure the worms won’t get away.
Should you have holes in the lid? Yes, you can. The holes help with air when you close your worm bin.
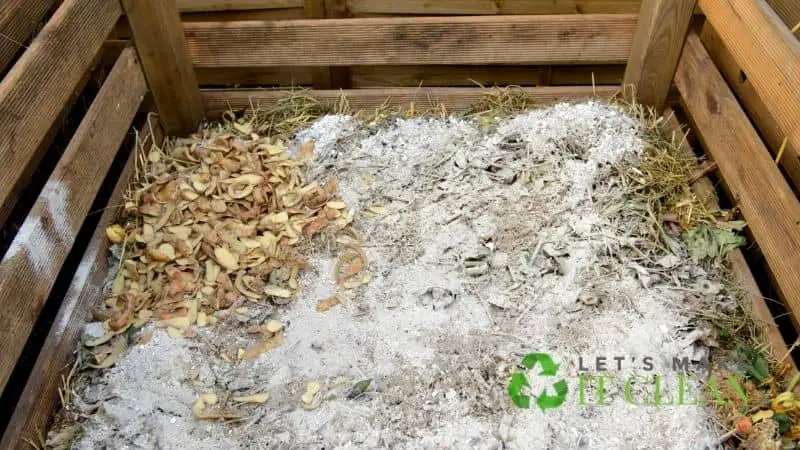
Step 2: Add the Paper
The shredded newspaper is an excellent option for bedding material.
Wet the shredded newspaper and squeeze out the excess liquid. The papers need to be damp but not dripping as the composting worms can drown.
Fill the bin with the paper for up to 3-4 inches deep.
Step 3: Add Soil
After the bedding materials are in place, the next step in the vermicomposting process entails adding the soil. The amount of soil you add will depend on the size of your container.
You can have a few cups of the soil running up about 1-2 inches deep.
Step 4: Add the Composting Worms
The next step in the process of making a worm composting bin involves adding the worms.
Here, you must know the number of worms you put in the worm bin to know how much you need to feed them.
It will help if you feed the worms three times their body weight in a week. One pound of worms eats three pounds of food. If you have a bin half full of bedding materials and about 500 composting worms, you need 1-2 quartz of kitchen scraps and other organic matter.
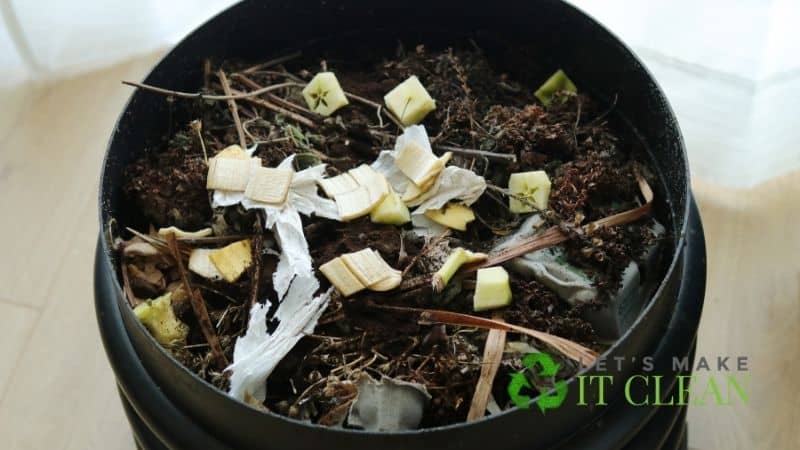
Step 5: Add the Food Scraps to the Composter
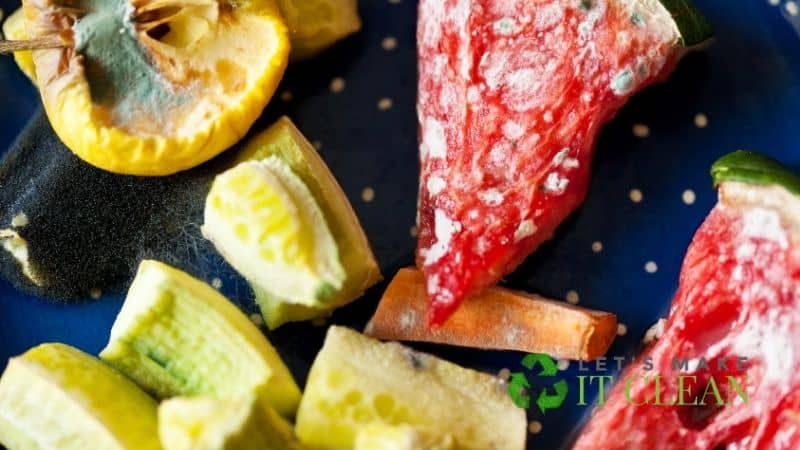
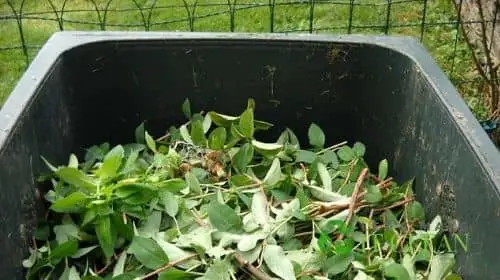
Here, you can add your food scraps to the bin. Look out for the kitchen scraps to add and which ones you should avoid. For instance, large volumes of grass clippings are not recommended.
However, you can use a wide range of kitchen wastes, including eggshells, banana peels, etc. It would help if you combined it with brown scraps such as coconut coir to balance.
Note, each material you use in the composting process is crucial in determining the compost’s quality. As you add food in the bin, avoid diseased plant wastes and treated woods.
You can decide to mix the food scraps and worms. However, that might attract fruit flies. To keep away the fruit flies, you can dig a hole in the soil and bury the food scraps.
Step 6: Allow the Worms to Get to Work
After you have added the scraps, you should then allow the mixture to mellow. Put a tight-fitting lid and allow the worms to start eating and digesting the scraps.
Find an appropriate space to put the worm bin. The location should neither be too cold nor too warm. If it is too warm, the worms may reproduce fast, while too cold conditions can kill the red wigglers.
After digesting the food scraps, the wigglers release worm castings that are rich in nutrients that are essential in your garden.
The liquid at the bottom of the bin is worm compost tea, which is concentrated. If you use it, it can burn the plans. Therefore, you should dilute it with water.
Do You Put Worms in the Bin?
Worms usually find their way to the composting bin. However, nothing stops you from adding your worms. You can purchase the worms from various selling sites.
How Do You Get Compost Out of a Worm Bin?
You can use two methods to get the compost out of a worm bin: the lure or dump method.
In the lure method, you try to attract the worms away from the finished compost. When the worm bin is full, you add another stackable tray with a fresh lot of scraps at the top of the bin.
The worms are attracted by the fresh food and migrate to the new tray, leaving behind the finished compost.
On the other hand, you have the dump method, which entails dumping all the box contents on a tarp in the sunshine or under a bright light. The worms will move to the bottom of the pile, which was the top layer of the bedding. You can then scoop the finished compost.
BONUS (video): Make a Worm Compost Bin the Cheap and Easy Way
Conclusion
You don’t have to spend a lot of money buying a bin from the hardware store. Here, we have seamless DIY tips that you can use. Ensure that the bin has enough ventilation to allow for sufficient airflow.
Also, ensure you keep it in a not too cold space and not too warm to achieve the best results. The basement of the bin should allow the worm tea to flow freely. Lastly, ensure you have enough and safe food for the worms.