Composting during winter is possible. But to ensure you get quality compost and ensure your compost is ready before gardening, you need to have some tips in mind.
For example, you need to know what to use in the composting process and what not to use.
What happens to your compost material during winter? Do you throw them away or can you make compost during winter?
Quick Navigation
Yes, you can make compost during winter, but there are a few tips you need to have in mind to make the whole process smooth for you. The first point to note; when composting during winter might be slower than other times.
Your compost may end up freezing at some point, and the composition process may stop. But this will work to your benefit as the freezing will help break down the material.
In this article, you will get tips on winter composting and ensuring the fine product is safe and well during the garden below. Read through to learn all the tips.
Can You Compost in Winter?
As seen above, winter composting is possible but the first step for composting in the winter is knowing what materials you need and getting them material ready.
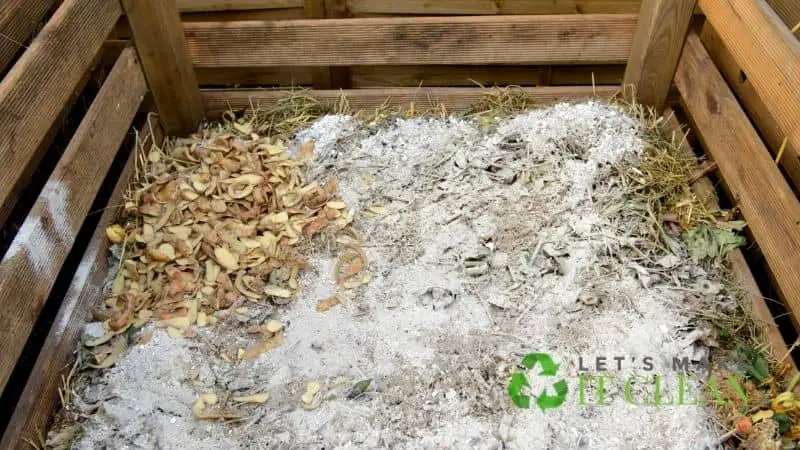
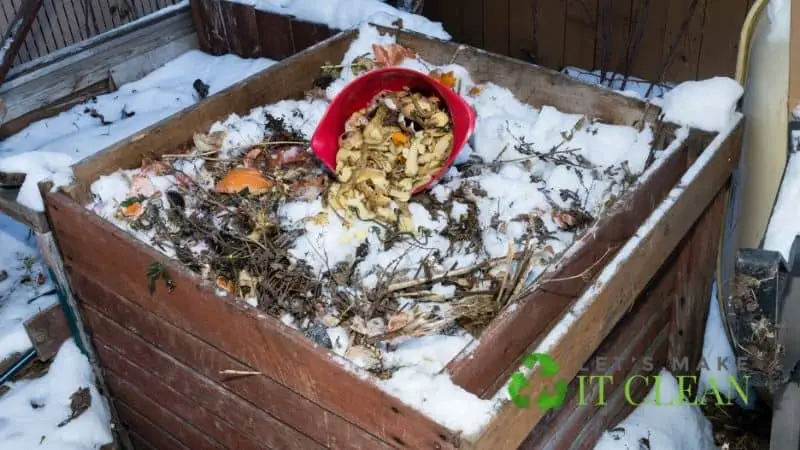
The first thing to include in your winter composting is the kitchen scraps that include vegetables, pumpkin leaves, coffee grounds, tea leaves, onion skin, and tea bags without staples and stickers, eggshells. Use a kitchen compost bin for this.
After that, you need to ensure the materials are in the right balance. Start by making sure the green material which is nitrogen is in the right ratio to the brown material carbon. The green material includes all your kitchen scraps, and they are rich in nitrogen.
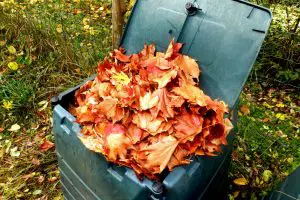
You have more of the green material, and so you need the yard waste which is the brown materials that include tree twigs and leaves, straws, and plants.
The green and the brown should be in the ratio of 30 to 1, as recommended by the experts. The ratio is for the microorganism’s acidity with the right carbon and nitrogen that they use to synthesize proteins. You don’t need to measure the materials to get the right ratio but make sure your estimation is close to correct.
How Do You Store Compost for Winter?
After winter composting, you need to make sure your store is right to ensure it is good to use during spring. How to store your compost depends on a few factors which you will learn below.
How long are you storing your compost? If it is for three weeks, you don’t have much to worry about. All you need to ensure is you don’t expose your compost to harsh weather like high humidity or heavy rain.
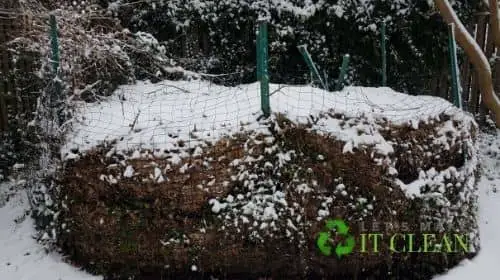
Do you need to store your compost for around two months? If so, you need to get tarps, stakes, and cover the compost pile.
Make sure you seal it properly. This way, you protect the compost from heavy rainfalls. But at the same time, you need to ensure the compost gets aerated the right way to ensure the microorganism survives.
If you plan to store your compost for more than three months, then you need to do proper planning to ensure it is okay after the three months.
Below are different ways to store compost for a long period.
Using a Container
The first method of winter composting storage is where you use a container to store. You need the simplest container, and it will work perfectly. An example is you can take a garbage container or bin and cut some holes on the bottom to help with aeration.
After that, color the container black to help in raising the temperature of the container. Ensure the lid of the container is firm. Also, ensure you rotate the waste from time to time to help with the aeration.
A plastic can is the best for storing a compost pile as they expand when the compost pile starts to freeze. But you can save some time by placing the container in the basement and that way the compost pile will not freeze.
Using Plastic Bags
Get some reusable plastic bags and make some holes in them. After that, store your compost piles in them and it will be good by spring. Apart from that, fabric bags can still be used to store compost. But first, you need to ensure the bottom is moist.
Also, avoid storing the compost pile on a wood floor as the floor will rot from the moisture. Before storing the compost pile ensure it has the right moisture. Also, after storing keep checking the moisture at least once a week.
Make a Shelter
The other solution to storing your compost pile is making a shelter or using the garage or any available shade to store. Apart from that you can get solid material and cover up the pile.
Ensure the compost pile is aerated correctly in the solid material to ensure you maintain its quality.
Tips for Storing When Composting in the Winter
To save all the nutrients in the compost pile during the cold season, you need to follow the tips below:
Keep the Compost Pile Big Enough
The worms and all the microorganisms will remain active in the center as there is heat, but the outer layer will be inactive. With a huge pile, the active part will be bigger. Experts advise having a heap of around 0.75 cubics. That way your compost pile remains active for a long while.
Shred the Materials
It will take more time, but the process is worth it. By shredding the materials, they are all uniform, and in that case, the heat will spread uniformly. The uniformity will help to protect the used materials from having a low temperature. Consider getting a winter compost bin as it will help you in maintaining the winter composting temperature.
Timing Is Everything
The more you store the compost pile, the more it loses its nutrient value. So, if you store a compost pile during winter ensure you use it immediately in spring to plant. If you have no other option, add a compost pile that is almost done with time and turn the compost pile to retain the value.
Apart from that, ensure it has the right aeration (see compost aerator reviews), moisture control, and adequate brown matter.
How Do You Compost in Cold Climates?
There are different methods to compost during winter. There is the open pile method, the container method, and the trench method. The different composting methods are discussed below in full.
1. Trench Method
One of the benefits of the trench composter method is it is low maintenance as compared to other methods. Start by digging the trench early enough when the ground is still soft. If possible, dig the trench in the garden to give the garden some boost with soil amendment.
After that, align the trench with brown materials like twigs, grass clippings, straw, and leaves. The leaves will help in maintaining drainage and aeration.
At this point, add the kitchen scraps from your trash can and some soil to help in starting the composting process. After putting all the scraps, cover the trench with garden soil and leave it to decompose.
The composting material is protected from the harsh winter weather by the ground and the soil covering, and this will help the microbes, bacteria, and the compost worm function correctly. The nutrient will get dissolved in the soil in the process. Protect the trench from rodents and other animals using a net.
The trench method might be hard to dig enough ground for your compost piles as the ground may be hard, or you may lack enough space in the yard. You can combine the method with another one if the trench is not enough for your compost materials.
2. Using the Compost Tumbler
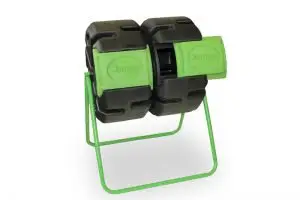
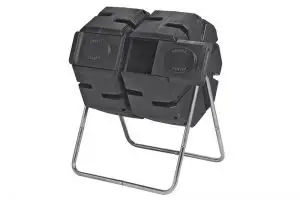
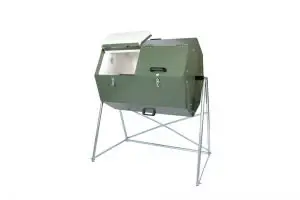
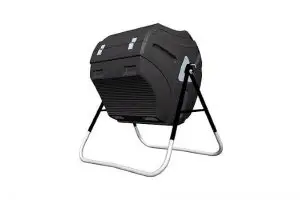
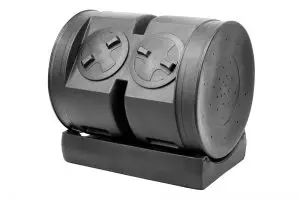
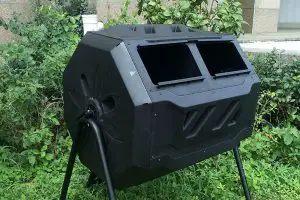
The compost tumbler method is among the epic gardening methods even for city dwellers. When you keep your compost pile in the tumbler, it’s protected from wind rain or harsh winter temperatures. With the tumblers, you have the option of getting a compost tumbler that you can move around or a stationary bin.
With tumblers, they are easy to use. First, they have the turning feature where you turn without having to open and remove the scraps, and then they are raised from the ground. For this reason, they can maintain their warmth. You can even get an extra cover-up and place it on the tumbler to retain the warmth.
But, in winter you need to ensure the scraps inside aren’t frozen. If you try turning when the scraps are frozen, you may damage the turning feature, and the scraps will not get the aeration they need. In case the scraps are frozen, leave them until they have thawed.
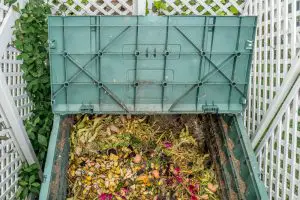
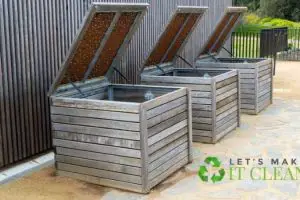
You add new material on the top for the stationary bin, and it reaches the bottom when it is fine. It is also known as a continuous composter. The computer is perfect for winter, but you need to ensure it is protected.
The stationary bin has in-built aeration, and in this case, you don’t need to keep turning. Some composters may not have a bottom, this may work in summer composting, but the ground is too cold during winter, delaying the decomposing process.
If this is the case with your stationary bin, you need to raise it using wood pallets stuffed with straws and leaves. There are some bins that have in-built insulation, and they are perfect for winter.
3. Using Indoor Composting
Going out during winter is stressful. But with indoor composting, you don’t have to. One method of indoor composting is worm composting.
This is where you use worms and in this case, the red wiggler worms for worm composting. The worm helps turn the food scrap into a high-quality compost pile, and the best part is they are odorless so that you can put them inside comfortably.
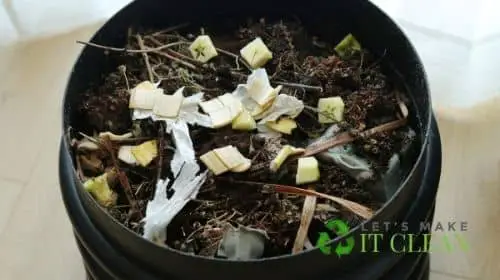
But there are some conditions for the worms to work efficiently. One condition is the bin should maintain a temperature of 55 to 80 degrees.
The other method of indoor composting is the bokashi. The method involves fermenting food waste before composting them. You ferment the food indoors using a bucket. Ensure the lid of the bucket is airtight such that no smell comes out from it.
The process of fermentation takes two weeks. After that, the component is not entirely compost, but you can add them to an existing compost pile or existing dug trash, and it will help make the composting process faster.
Will Compost Worms Survive Winter?
Worms are essential when it comes to composting. They help in the process of breaking down the compost contents. Thus, it is vital to ensure the worms survive during winter to help in the process.
But worms are tough; they were there even before human existence. But when they are in a bin, they don’t have much control. You have to take care of them when all the compost freezes.
The worms may die, but they lay their eggs once the compost thaws then eggs will hatch, and there will be more worms in the bin to help in the process.
There is no need to panic if the bin and the compost pile freezes leave it but once it thaws, check and see if there are brown eggs and have a sphere lemon-like shape. Apart from that, you can see baby worms. With time there will be enough worms in your bin or pile.
In case you suspect there are not enough worms in your bin, you can go ahead and purchase a bag full of composting worms. They will help in boosting the composting process as they will quickly digest the scrap.
If you have an indoor composting bin, you can put it in a warm place like the basement or the laundry room to ensure the worms survive. While using the bucket method, place it under the kitchen sink as it is warm there.
If you have a large compost bin that can’t fit inside, you can get a smaller bin and store it inside to help in winter composting as it will help save some worms and then mix the two during the winter. That will help in fastening the composting process.
Worm bins have some heat as the process of breaking down contents generates heat. The center of the bins is usually warm. In case it gets cold, the worms move away. You can help the worms by insulating the bin. Place a blanket on the bin so that it helps in maintaining the heat. At the same time, ensure not to block the aeration spaces.
Materials to Avoid in Winter Composting
There are some materials you should avoid during winter. They include woody twigs and big branches, and if you must use them, you need to shred them. Don’t use leaves from trees like juniper, spruce, arborvitae, and pine.
Also, any tree that had weed treatment. Apart from that, avoid meat as it takes a lot of time and attracts rodents. Also, avoid bones as they don’t decompose.
What Happens to Winter Compost in Spring?
After winter is over, you don’t have to do anything to the compost pile to head start it. When the temperature rises, the compost pile will stop freezing. If it has frozen, the warms will get active again, and the composting process will continue.
The microbes are inactive during winter, but once the temperature rises, they become active again.
One thing you can check is if the compost pile has enough moisture. There are chances it can have excess moisture after thawing. At this point, add more brown materials. Also, to fasten the process, you can purchase composting worms and add them to the compost.
Conclusion
Composting during winter is slow and may take more effort, but it is possible. Using the above methods, you will come up with the perfect compost during winter, store it appropriately to use it during the cold season, and still retain all the nutrients.
All you need to do is ensure you follow all the tips above.

