To make a bokashi bucket, first drill twenty to thirty holes on the bottom of one bucket. Second, insert the drilled bucket in another bucket that fits. Third, seal the bucket with a tight lid after you have added the composting material.
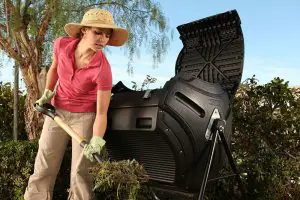
If you have a small space for making compost, a DIY bokashi bucket will serve you adequately. With this modern equipment, it doesn’t matter whether you are a city dweller or in the upcountry. Only a little space is required for a bokashi bucket.
Quick Navigation
This article is geared towards aiding you to construct the composter at home. Follow the guidelines below and begin a journey towards more fertile soil.
How to Make a Bokashi Bucket?
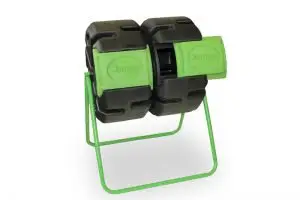
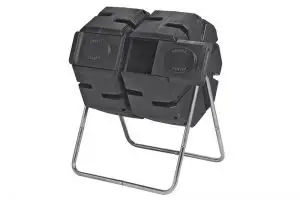
Making an efficient DIY bokashi bucket needs you to have two 5 gallon buckets, preferably recycled ones. You can buy old paint buckets from a hardware store. However, the buckets must be thoroughly cleaned to remove a considerable amount of paint residues.
You will also look for a bicycle tire and remove the inner tube. A drill will again come in handy when perforation holes in the bokashi buckets. If you have easy access to a spigot, you can add it to your tools.
Finally, bokashi bran will be needed since it has the ability to facilitate the process of making compost. Making the bokashi bran yourself is an option if you can not buy it online or from a store.
The first step is checking to see whether the buckets you have will fit each other tightly. Make sure the amount of air space you leave between the two buckets is the least possible. Once you are confident that the buckets are a perfect match, you are free to begin.
Bokashi compost creates bokashi liquid as the fermentation process continues. Consequently, the means to drain out the liquid using a spigot is demanded.
Attach a ¼ inch drill bit to your drill. Turn one bucket upside down and rill about fifteen holes. Detach the drill bit and attach a ⅛ drill bit. Use it to add about fifteen more holes to the bottom of your bucket.
Alternatively, you can use a 4-inch drill bit. Use it to drill four holes in the bottom of one bucket. These holes become a path for the liquid to drain into the outer bucket forming bokashi tea.
However, if you decide to use the 4-inch holes, avoid the middle bottom part, which is usually more challenging. Drilling that hard part could compromise the stability of your bokashi bucket.
Using a drill often results in some parts of the plastic jutting out on the drill holes’ edges. For this reason, you will use sandpaper to soften the drill hole edges. Optionally, use a file in the place of the sandpaper.
Now insert the drilled bucket into the outer one. From the bicycle tube, cut a piece, then fit around the outer bucket as a seal. This practice will help avoid excess air escaping.
Commercial bokashi buckets require the use of a spigot when draining your bokashi tea.
The next step is covering the bucket using a lid. It is paramount that you use a tight lid that will not allow air to escape from your bucket. The bokashi system demands an airtight space for effective microorganisms activity. The fermentation will, consequently, be adequate.
Whenever the lead you are using gets loose, use an old cloth such as a t-shirt to cover your bucket’s top. The t-shirt will reduce the amount of air getting out of the bucket. Also, ensure you fix the lid after coating it with the cloth.
Once you are done, feel free to get started on your first bokashi batch.
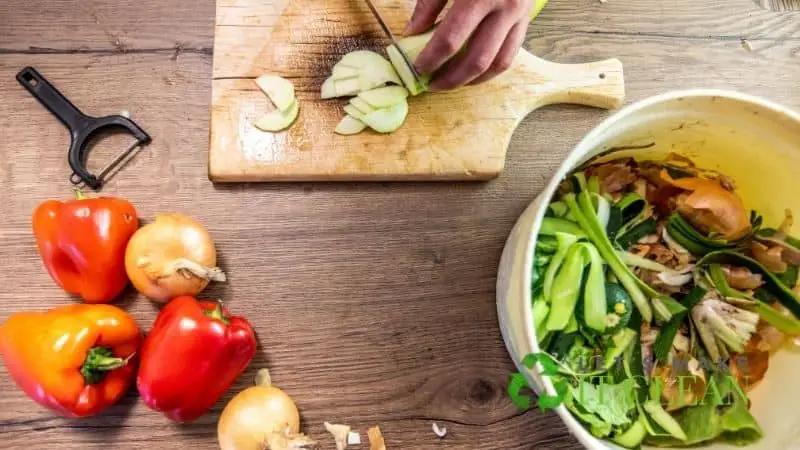
What Can You Put in a Bokashi Bucket?
The system has an advantage over vermicomposting and traditional composting. With a bokashi bucket, all your kitchen waste and food waste will no longer be wasted.
Whenever you consume fruit, store the fruit scraps for use in the bucket. Vegetables that go bad after long durations without being used can also be put in the bokashi composter. Additionally, leftover food is an essential ingredient for the bucket.
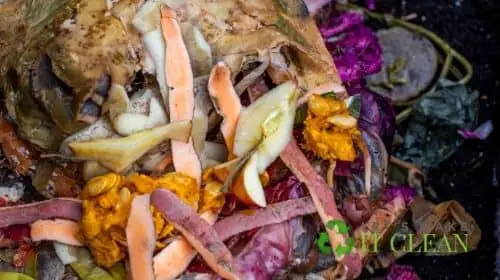
You don’t have to worry about excess meat and fish, whether cooked or uncooked. These animal products are safe for use in the compost system. Dairy products and eggs too are a source of material to be used in the compost pile.
Eggs, bread, coffee grounds, and waste tea bags are also components of a bokashi system’s compost pile. On the same note, the flowers that wither and tissues used around the kitchen can be put in the bucket.
What to Keep Out of the Bucket
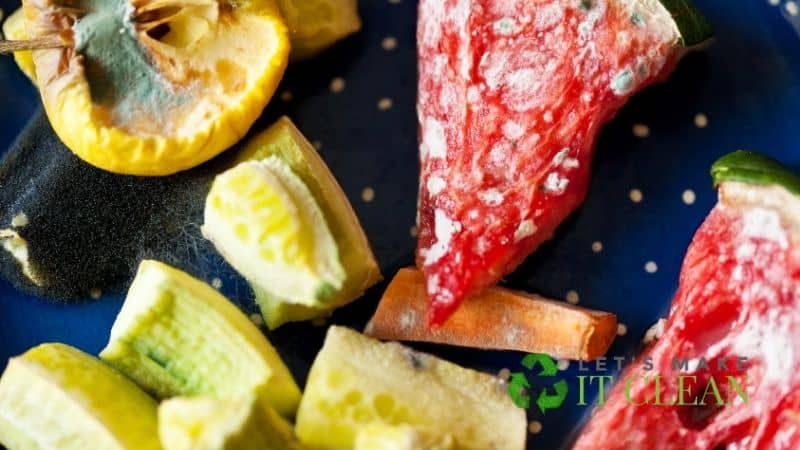
If you have any rotten food, it would be best to dispose of it using other means. Moldy foods, too, should not be added to the bokashi system. When you put moldy foods, they introduce excess green or blue mold, which ruins the bin’s content.
However, when you toss in a little rotten food waste, you don’t have to empty the whole bucket. It would be best if you were careful not to overload the bucket with rotten food waste.
Liquids added in excess to the bucket are harmful to your pile. Similarly, it is wise to avoid grease and oils that are excessive. Whenever these liquids are too much in the bucket, the bacteria required for fermentation will be ineffective. Therefore, if you want the process to be faster, avoid these excess liquids.
Can You Make Compost in a Bucket?
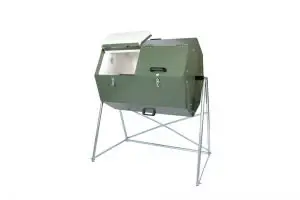
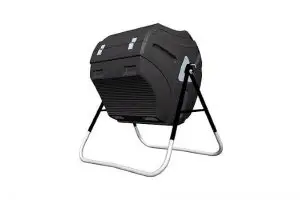
Making compost in a bucket is possible. However, homeowners with lots of kitchen and food waste should buy bigger containers from a hardware store.
A bucket requires to be customized using a few tricks. First, make holes in the lower part of your bucket. The lid also needs a few holes. The essence of this drilling is to allow the evaporation of excess moisture. If the humidity is excess in the bucket, your pile will go bad.
The excess moisture creates an environment that mold thrives in, resulting in a low-quality pile. On other occasions, the mold gives off a stench.
The appropriate number of holes for a gardener to drill on the bucket’s lid is ten. The bottom of the bucket also needs ten holes. To add more air circulation, you can drill five holes on the sides.
Now put a couple of sticks at the bucket’s bottom. These sticks are vital in reducing the incidences of clogging when food scraps are added.
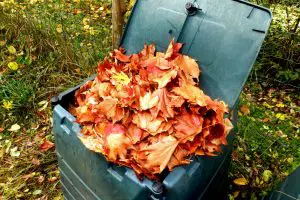
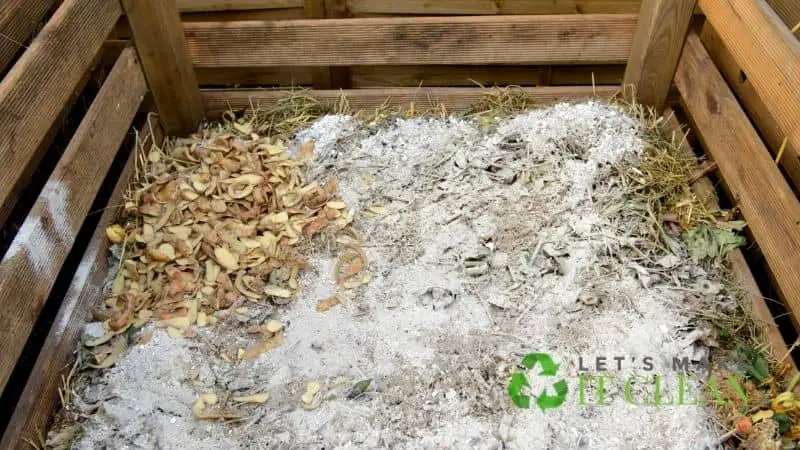
Gather a few dry leaves from your garden. Use these leaves, which are brown material to cover the sticks. The brown material is essential since it is a source of carbon-rich content.
Also, make sure the sticks are tight. This will ensure they remain adhered to the interior of your bucket without rolling. If the sticks roll-off, they become ineffective, leading to poor drainage.
The content you have saved up for composting should be added at this stage. You are free to add waste of all kinds ranging from eggshells, grass clippings, food scraps, vegetable scraps to shredded paper.
When adding this material, it is vital to allow some breathing space below the lid. This is because a heap that is tightly packed will slow down your composting process.
The next step is fitting the bucket’s lid. The lid must be tightly fitted to avoid spillage when rolling the bucket. Children can do the rolling part as they play. However, it is best if you monitor the rolling. Rolling helps mix the content to allow microorganisms to work on all food material suck as cookies and other types of waste uniformly.
Every time you add fresh material, it is essential to seal the lid and roll the bucket. Alternatively, shake it if you are strong enough. The moisture and organic matter in a pile will be evenly distributed.
The temperature inside the bucket will be regulated with the rolling, making sure no part is colder than the other. The composting process will consequently be hastened to give you fermented bokashi faster.
Empty the bins you store heap in before the end of two weeks. Emptying will keep the white mold and flies away.
What Is Bokashi Powder?
Bokashi is a fermented organic matter. Whenever substances such as bran, rice, grounded mushroom (see how to use mushroom compost), or any other organic matter are fermented in powder form, you have bokashi powder.
The powder contains vital microbes for fermentation. Therefore, you have the freedom to use the powder in your bokashi bucket without fear of unwanted odors.
Preparing the inoculant for the bokashi powder, you need to make a brew. The function of the brew is attracting bacteria that are vital to the bokashi compost system. Now submerge the material you are using in the liquid. Leave the mixture to ferment, which will consequently ferment the microbes.
If you want rapid reproduction of microbes for your bokashi powder, add molasses to the liquid. The final stage is drying the inoculated material, which is your bokashi powder.
What Is Bokashi Powder?
Conclusion
A bokashi bucket is one of the best DIY projects that will help your family in making compost. you can also have a compost bin or worm bin where you will use worms from a worm farm if you have a big family garden. The only thing required is to have plastic containers and a good lid that you will use.
The bokashi tea you collect from the bucket can be added to the soil around your plants directly. Optionally, mix the bokashi tea with solid material and take it to the garden.