Compost is a garden variety of gold. Compost will make your soil richer, greener, and your plants much healthier.
With the right equipment, you can mass-produce compost and turn your garden into a luscious green paradise.
Quick Navigation
If you’d like to start composting, then you’d better get a composter. If you want a portable, reliable, and convenient way to compost, then we suggest you get a composting tumbler.
What Is It and How to Use a Compost Tumbler?
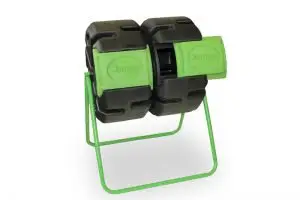
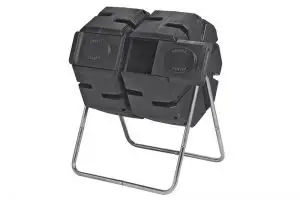
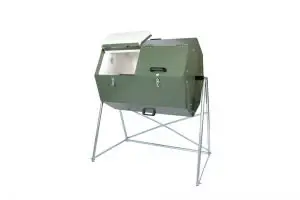
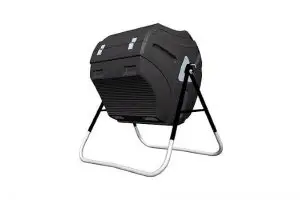
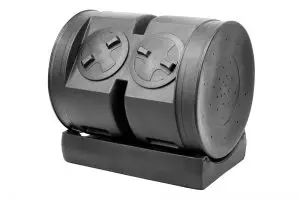
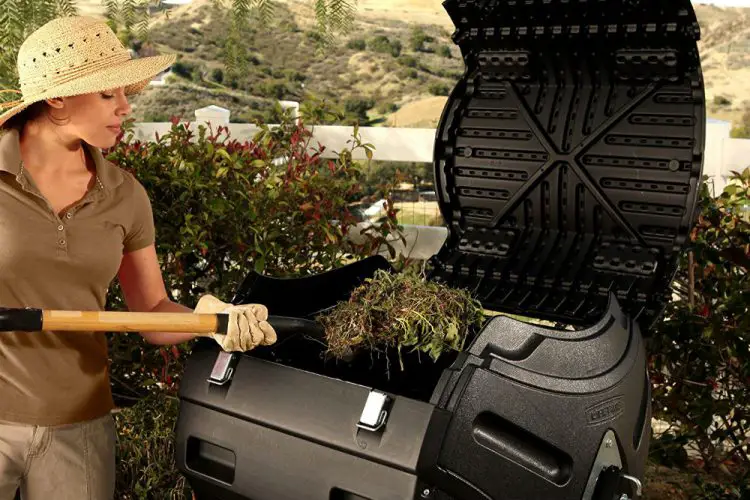
To put it simply, a composting tumbler is a cylindrical object (usually a barrel) that can be rotated and turned. The barrel is often made from recycled plastics, which are filled with organic wastes like kitchen scraps and manure.
The barrel will enhance the composting process by setting the right conditions and speeding the decomposition of the ingredients.
It’s Time to Compost!
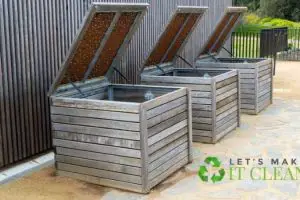
1. Choose a Location
Before you start, it is advisable to choose a location that will help, and not hinder, your composting tumbler. The ideal location to place your composting tumbler is an area that is shaded, close enough to walk to, far enough for the smell to not bother you, and close to a water source.
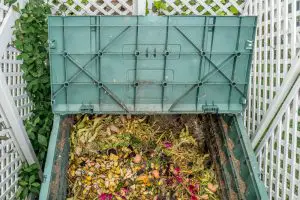
2. Throw Your Trash
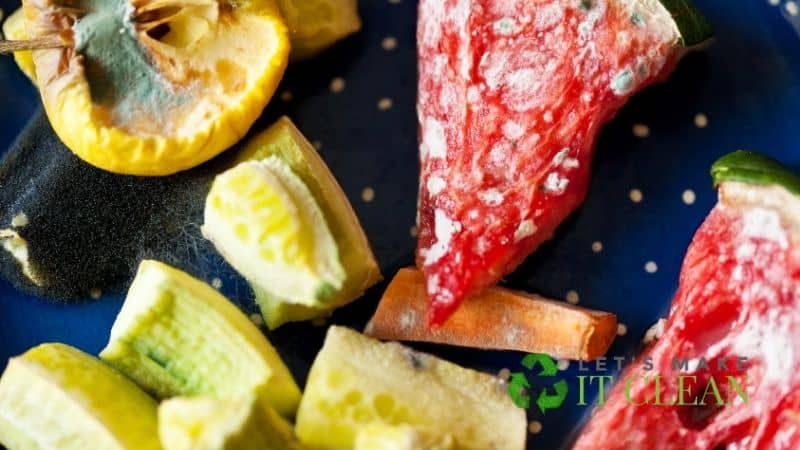
Now that you have chosen an ideal location, it’s time to put your waste in the tumbler. You can put kitchen scraps such as eggshells, bones, meat, and anything that’s organic. Make sure to grind or shred large pieces of organic waste.
The smaller it is, the faster it will compost. After putting enough of your organic wastes into the composting tumbler, it’s time for mixing.
3. Mixing and Composition
Composting isn’t, simple and to create a good compost you’ll need to get the proper ratio right. You need to balance the carbon with enough nitrogen.
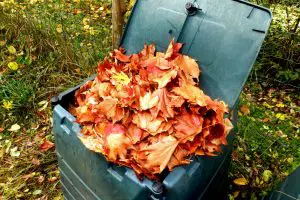
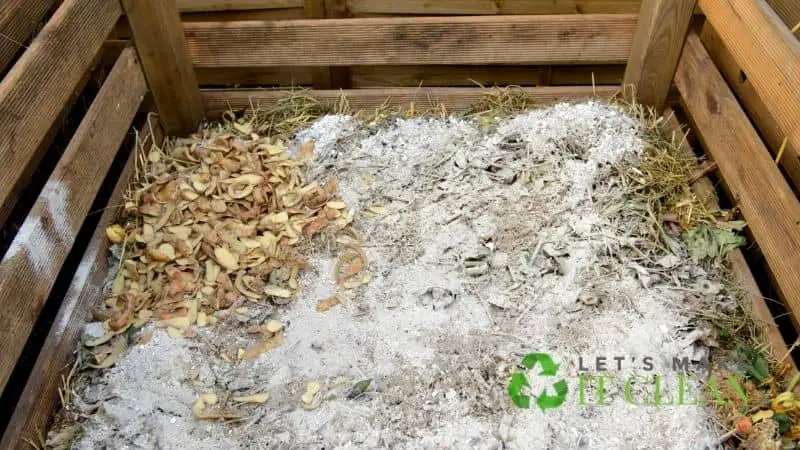
So, load up the composting tumbler with greens. Greens are usually nitrogen-rich materials like fresh grass, leaves, and vegetable trimmings.
After loading it with nitrogen-rich materials, it’s time to load the composting tumbler with browns. Browns are carbon-rich materials. Materials like dry leaves, shredded paper, shredded cardboard, and dry twigs are good examples.
The ideal carbon to nitrogen ratio is 30:1. Greens are nitrogen-rich, but they contain carbon, while browns are carbon-rich, but contain nitrogen. So, don’t make the mistake of assuming that greens are 100% nitrogen and browns are 100% carbon.
But let’s not make it complicated. Let’s use the most effective ratio for beginners. Make sure to put 2 parts greens for 1-part brown. In short, you should have twice as many greens as you have browns.
4. Add Water and Spin
After putting the proper ratio in your composting tumbler, it’s time to add water. Add enough water to dampen your composting materials.
Don’t add so much that it becomes too mushy, but don’t add too little either.
After adding water close the composting tumbler and rotate to mix the ingredients properly.
5. Check, Add, and Maintain
You’re basically done. You’ll be seeing results within a few days, but it usually takes weeks for composts to be ready.
Visit your composter from time to time and check your compost. If it’s a little dry add water, if it’s too sloshy then you might need to drain it.
You can speed up the composting process by introducing useful microbes into your compost. Things like manure and garden soil will do nicely.
6. Check and Maintain the Temperature
Maintaining the correct temperature is very crucial when creating your compost. Make sure that the temperature is hot so that it can help break down the ingredients faster. Hot composts will kill unwanted pests such as roaches and even weeds.
The ideal temperature for your compost should be somewhere above 60 degrees. To increase the heat of the compost, add more nitrogen-rich materials.
7. Use and Enjoy
If you’ve followed the steps above correctly and consistently, then you will have a fresh batch of compost in no time!
You know your compost is ready when it has a rich brown color and similar properties as soil. To put it simply, if your compost looks like normal dirt, you’re good to go.
Tips and Tricks
- Avoid using meat and dairy products. They will attract rodents and other animals to your compost. Even if your composter is rodent-proof, animals, like dogs, may have enough strength to “tumble” your composting tumbler.
- Check consistently and add new materials to the compost.
- Use gloves when handling compost. It may be good for the soil, but it’s not good for you!
Conclusion
We hope you’ve learned and applied the guide above in using your composting tumbler.
It’s a satisfying experience to see your plants grow strong and healthy. If you are growing food in your garden, take pride in knowing how healthy and delicious it is.
You’ve made your home greener, brighter, and much healthier. Happy Composting!