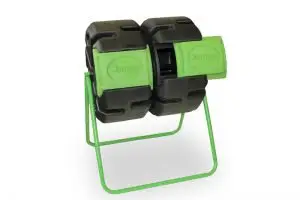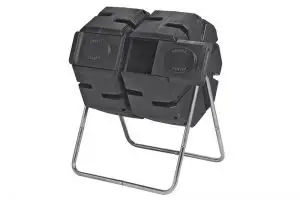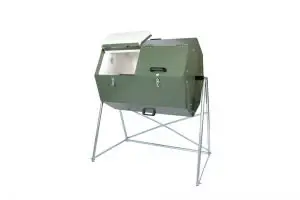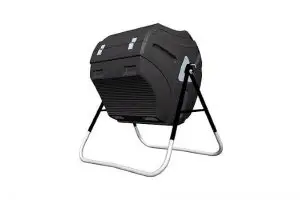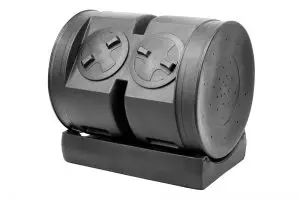
It would be really great to have a compost tumbler; however, they are really expensive and they sometimes have features you don’t want.
So why not make your own version of a compost tumbler? You can design it to suit your needs, and add cool features to it as well. And if it sucks, you only have yourself to blame.
Quick Navigation
So, will you make a decent compost tumbler or will you make a really bad one?
Let’s find out!
How to Make a Compost Tumbler: Build One!
1. Gather the Materials Needed
The type of compost tumbler you decide to build will determine what materials you will need.
If you’re planning to build a compost tumbler with proper aeration, a decent stand, and a door, then you’d need:
- 2×4’s for your stand
- A door handle
- L brackets
- Hinges and latches
- Hammer, measuring tape, a ruler, and a framing square
- Nails
- Circular Saw
- Jigsaw
- A hole saw
- Screw and screwdrivers
- Drill Motor, paddle, and drill bits
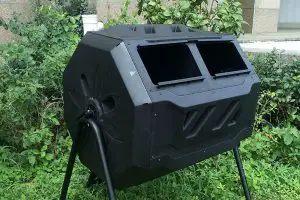
- A plastic barrel (preferably BPA free)
- A PVC pipe longer than your plastic barrel
2. Drill Holes Into the Barrel
Drill enough holes in the plastic barrel to provide decent aeration to your compost tumbler. Make sure to space out the holes evenly around the barrel. A space of three centimeters between each hole is ideal.
The holes should not be larger than 1 inch since they will be providing air, and any larger than that, and you’ll be having drainage problems.
The location of the holes is up to you, but make sure the compost will not drip out of the barrel. This is why most people drill holes in the sides of the plastic barrel.
You will want to drill the center of the plastic barrel as well. This will serve as an entry point for your PVC pipe. Make sure the hole you make has a slightly larger radius than your PVC pipe.
You can use your measuring tape and ruler to measure the radius of your PVC pipe.
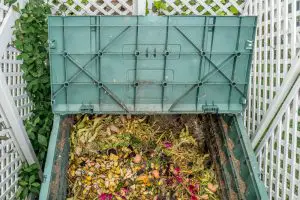
3. Make a Door Out of Your Compost Tumbler
You will need a door for filling and removing your compost. The size of the door is up to you, but the ideal door should be larger than a shovel, and be large enough for you to pour the compost out of the barrel.
After cutting and creating a decent space for your door, it’s time for you to screw and attach hinges to the plastic barrel and make your door. You’ll need your hinges, latches, L brackets, and screws for this.
4. Insert the Pipe
After creating and making sure the door works fine, it’s time to insert the PVC pipe into the plastic barrel. The pipe will allow you to “tumble” the compost tumbler.
Insert the PVC pipe into the hole you made in the center of the plastic barrel. Make sure the pipe is long enough to stick out of each side of the plastic barrel. The extra length of the pipe should be able to rest on the stand you will be creating.
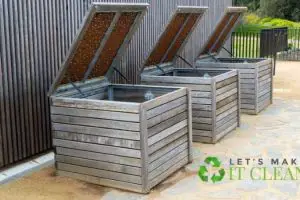
5. Build Your Stand
You can use any material as your stand for your composter, but for this compost tumbler, we will be using the 2×4’s we have prepared.
Using the 2×4’s you can create a decent stand for your PVC pipes to rest upon. A good design will be building a wooden sawbuck with an x-frame. The x-frame ensures stability and has enough structural strength to hold your compost tumbler.
6. Test, Repair, and Maintain
You’re done, but you need to make sure your compost tumbler will function efficiently.
Check for damages in the plastic barrel, and if there are any, take the necessary steps in repairing them.
Check the integrity of your door, and make sure that the hinges are stable and won’t fall off when a strong force is applied. If there are any loose hinges or loosely placed screws, then make the necessary repairs and tighten them so the door won’t fall off.
Lastly, check if your stand is sturdy enough to hold your compost tumbler. Fill the tumbler with soil and push it down with force.
If you hear any squeaks or creaks in your stand, then you should know the stand isn’t sturdy enough. You can repair this by nailing the weak parts of the stand.
7. Modify
You can add cool features or make some alterations to your compost tumbler.
Don’t like the color? Then you can paint and design it the way you want.
Do you want more ventilation? Then drill more holes into the tumbler.
There are numerous ways to enhance and modify your tumbler, so I’ll leave this one to your imagination.
8. It’s Time to Make Some Compost
After checking for defects and modifying the tumbler, you can now start composting. So have fun!
Conclusion
Why buy an expensive composter when you can make an even better one? Making your own compost tumbler is a great way to save money and learn some construction skills.
However, the quality of the compost tumbler depends on the quality of the materials used, and your skill in construction. So, don’t expect anything great if you suck at construction.