Red wrigglers are the typical choice for vermicomposting. But are nightcrawlers ideal for your compost?
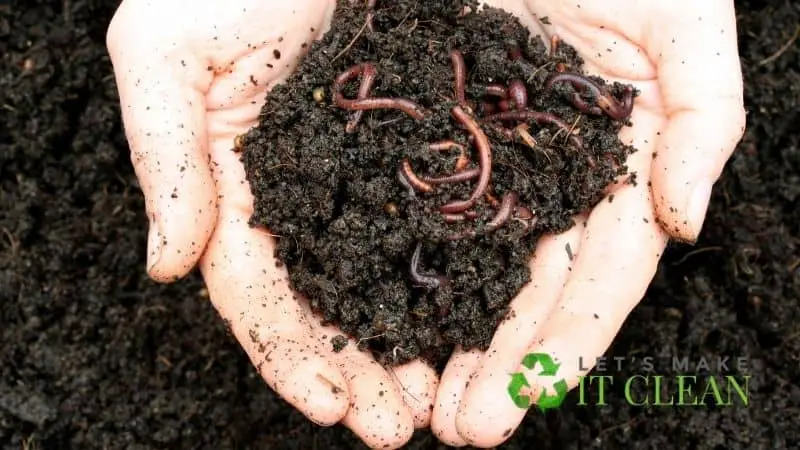
Nightcrawlers have numerous advantages that they add to your garden, promoting healthy plant growth. Although they love unconfined places, it is okay to use nightcrawlers to do worm composting.
Quick Navigation
In this article, we’ll explore the tips on how to raise your worms properly. Besides, we have in-depth information concerning the ideal types for your composter and more. Dive in!
How to Raise Nightcrawlers
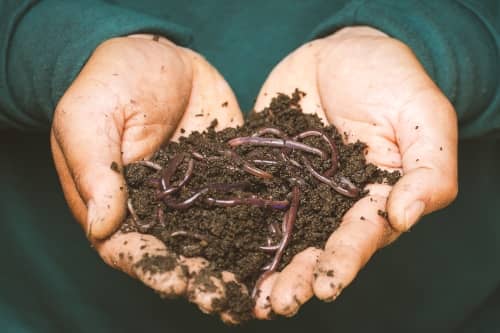
These worms grow to a length ranging from 3 to 8 inches. Thus, they are much bigger than most worms that are similar to them.
Besides, nightcrawlers are also the easiest worms to raise since they require only four things.
Crucial Requirements for a Nightcrawler Farm
To begin your worm project at home, you require the following:
- Nightcrawler worms
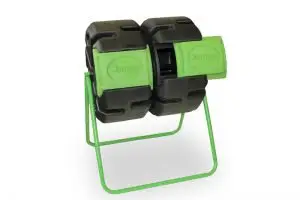
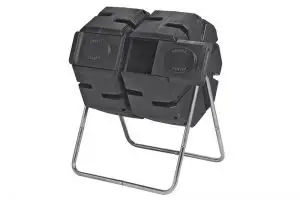
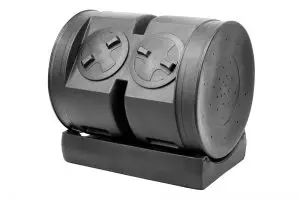
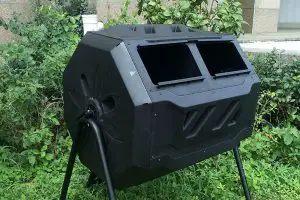
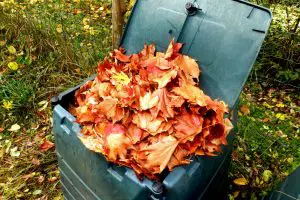
- Dark Colored Plastic Bins – should range around 7-10 inches high, 9″ wide, 14″ long (an opaque container or bin is more suitable for nightcrawlers)
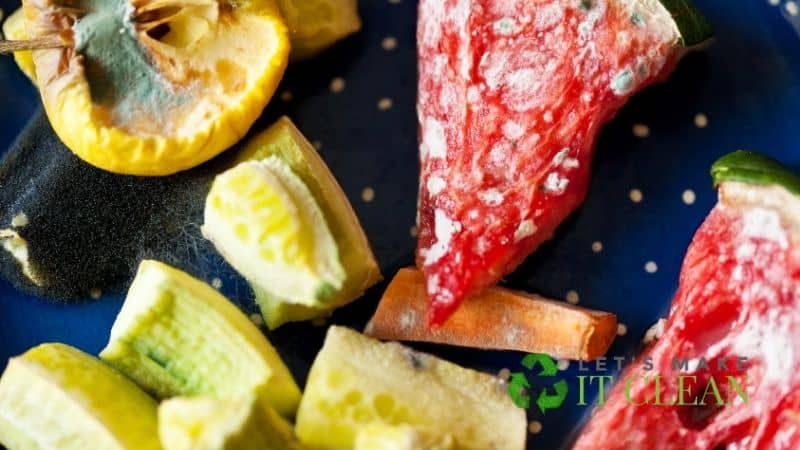
- Paper shreds such as newspapers, crushed eggshells, potting soil, and food scraps(organic) like potato peelings. However, avoid things like meat, acidic, salty, dairy, and oily products.
- A spray bottle – for watering your bins
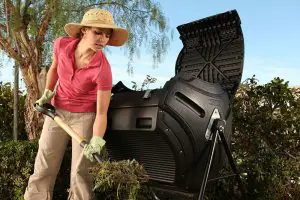
Step 1: Container Collection
Get large-sized plastic bins or boxes where you will house your worms. Typically, a 1 square foot area is suitable for 1,000 worms.
The exact size of each worm bin depends on the extent you want your nightcrawler farm to reach. An opaque container is the best since nightcrawlers prefer dark environments.
Step 2: Peat Moss Addition
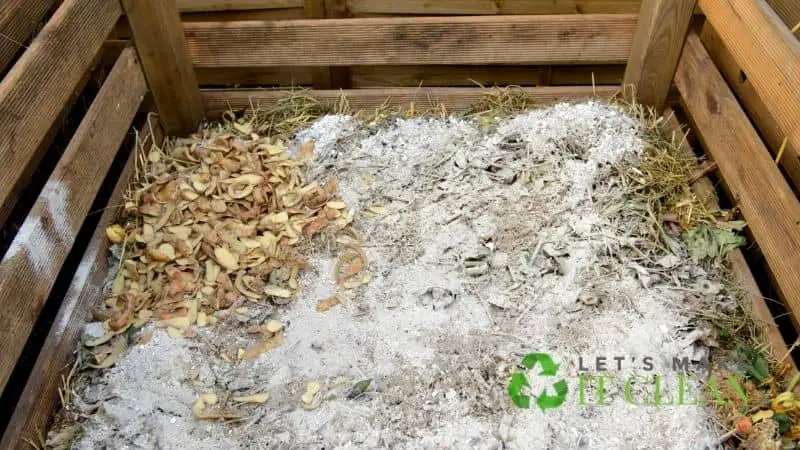
To every container, put 8-10 inches of damp peat moss. Make sure the peat moss is damp but not with too much water. To determine if you have the right moisture level, squeeze the peat moss in your hands. There should be only a few water drops. If it’s dry, add more.
Step 3: Introducing Worms
Introduce the starter worms to your compost bins. It is best to have a minimum of 500 breeder worms for every bin for a start. Ensure you do not add over 1,000 worms per square foot. As your worm farm progresses, you may upgrade to larger sizes where each container holds 10,000 worms.
Step 4: Shelter Conditions
Put the worm bins in a cool, dark, sheltered place. Basements and garages are excellent environments to develop a worm bed.
Step 5: Proper Feeding
Feed your worms grains or food scraps. Many breeders feed their worms with chicken egg layer mash, which they believe promotes faster breeding. When placing worm food into the bins, it is best to sprinkle in a line across the top and towards your bins’ centers.
Ensure you do not cover the entire surface with lots of food. The allowance at the top comes in handy should your worms need to escape if the worm bed gets soured.
Step 6: Bedding Neutralization
Determine the pH of your compost bins daily. If the pH is at seven or below, sprinkle limestone powder together with the worm food. It’s also necessary to sprinkle more limestone powder across the surface of each worm bed after 2-3 weeks. This ensures the neutralization of any acids formed.
Step 7: Turning the Bedding
Turn each worm bed after around three weeks, making this a routine. Turning facilitates proper aeration of your worm bed materials.
Step 8: Cocoon Appearance
Observe when cocoons start appearing. These worms typically lay their eggs close to their food, so here is an excellent place to begin the check.
Each worm lays about 1-2 egg capsules every week. Each capsule hatches anywhere from four to 20 worms.
Step 9: Harvesting
Harvest your worms. Many breeders harvest the worms using their hands and place them into covered containers.
Ensure you add a little portion of food and the bedding materials. Keep these refrigerated until when you sell them to lengthen their shelf life. Young worms are excellent as breeders, while old worms are for fishing bait.
Growing Nightcrawler Worms for Profit
Lumbricus Terrestris (Canadian nightcrawlers) have been popular among gardeners and anglers alike for generations.
Starting a commercial nightcrawler venture generally requires little money and takes reasonably less time to maintain once established.
Beginning a Nightcrawler Farm
Site Location
Before you start selling nightcrawlers, you’ll require to assemble several vital supplies and start raising your worms.
But first, identify a location that allows you to maintain cool temperatures of about 60-degrees-Fahrenheit effortlessly. Very minimal smells are ideal for comfort; hence a basement is suitable to locate your farm.
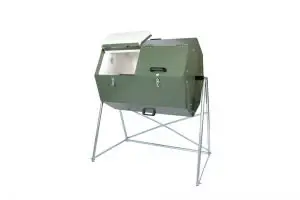
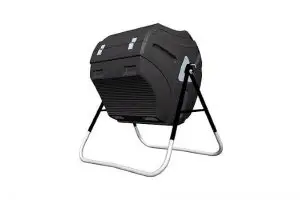
Box/Bin Collection
Get as many 2′ by 4′ opaque plastic bins as your space can accommodate comfortably. Use each lid as the bottom of your bin. Cover the compost bin with matter that allows some moisture to escape, for instance, light sheet insulation or heavy fabric.
Box/Bin Aeration
Drill numerous tiny holes on the sides of each container to facilitate moisture and oxygen to enter. Ensure these holes aren’t big enough to allow materials or worms to get out.
Raise the bins off the ground using a wooden platform if possible to lower pest infestation. These holes also act as drainage holes in case of excessive water.
Soil Addition to Your Bins
The Ideal Bedding Matter
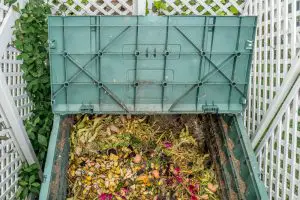
Once you’ve set up the compost bins, it’s time for adding a soil type that’s favorable to nightcrawlers. Add vegetable scraps, bedding matter from chicken coops, and grass clippings or formerly composted cow manure.
Ensure it’s the only composted manure you are using. Green manure tends to get excessively hot, which may harm the worms. Make sure the grass clippings you use didn’t undergo pesticide treatment.
Moisture/Water Inclusion
Moisten the clippings slightly with water, then toss all over while ensuring they allow ample aeration. Shred newspapers for an excellent bedding supplement.
Ideal pH Conditions
Confirm the pH of the materials using a test meter. It is best to have a pH close to neutral, i.e., at 7. Lower the pH by adding apple cider vinegar or raise it using baking soda.
Do this gently, especially when you have worms in your bins, to avoid shocking them.
Obtaining Your Starting Worm Stock
Worm Sourcing
Purchase or collect your worms. Various online wholesalers sell worms of several varieties; hence you can decide which you want.
Canadian & European nightcrawlers are the most popular breeds. You may also get your worms from under rocks or manure piles, especially during wet days.
Breeding
Place your first stock of worms in the bins. Begin with under 10 pounds of worms per bin. After placing your worms, leave them undisturbed.
Visit only once each day to feed them. Moisten their bins depending on the moisture level or approximately after every three days.
Feeding
Don’t put a lot of food for your worms. Add fresh soil substances(food) only when the worms move to the surface or after the previous food mound is mostly gone.
Nightcrawler Preparation for Sale
Check for their eggs. These take about a month to hatch and are ready for harvesting within half a year. Once their population starts growing, gently move some worms to new compost bins.
Observe the worm size and take a portion of ideal worms to a bucket containing sphagnum moss to toughen them up for sale preparation.
Nightcrawler Worms as Fishing Bait
Nightcrawlers are a common live bait during fishing. This is due to their continuous twisting movements, which make them highly appealing to all fish kinds.

You can either get them from worm farm stores online or from a local bait shop. But if you don’t want high costs, you can try finding some from your garden after heavy rain. They are a popular fishing choice than red worms as you can submerge them in water for more extended periods.
FAQs
What Are the Types of Nightcrawlers?
There are numerous kinds of nightcrawler worms (also called grunt/leaf/garden worms). We have the Canadian kind, as well as the European and African nightcrawlers.
They are excellent for several uses, including vermicomposting and fishing. But which kinds are perfect for composting and live fishing bait?
Nightcrawler Varieties
Raising these worms is simple; anyone can do this with the straightforward tips above. You’ll mainly require a worm bin and some earthy soil (plus organic food) that you can store indoors or outdoors afterward.
Did you know that these worms have no ears or eyes? They sense the movement of things by vibrations. They usually burrow into the earth (can burrow as deep as 6 ½ feet) once they feel slight shudders within their surroundings. But this burrowing has its merits too as it aids with soil aeration.
They’re also light-sensitive; that’s why they dig and hide in the soil once daylight arrives. Nonetheless, you may see them feeding during the night or after a heavy downpour (usually when the grass has dew on it). They are also larger and thicker in size ( some grow to 14 inches) than red wrigglers.
And as seen, there exist three known species of nightcrawlers:
- European (Eisenia Hortensis)
- African (Eudrilus eugeniae)
- Canadian (Lumbricus terrestris)
Not all crawlers survive in cold conditions. Canadian kind must stay cold while European night-crawlers thrive in warm conditions.
European Nightcrawlers
These have the most similarities to red worms. Their only difference is in the sizes (the red worm is smaller). You’ll find them thriving and burrowing in most organic dirt heaps or animal manure piles.
Canadian Nightcrawlers
Like the prior kind, these are also large-sized and a favorite among anglers as live fish bait. Also called Dew worms, the Canadian types are deep burrowers hence are usually bred in more expansive spaces (compared to the limited space used for red wigglers).
African Nightcrawlers
They can withstand a low temperature. They are also excellent for composting. They produce nutrient-rich worm castings, similar to Red Wiggler worms.
What Is the Ideal Nightcrawler for Vermicomposting?
The African and European nightcrawlers are typically the ones used for vermicomposting. They have their merits but aren’t the most popular choice for composting amongst gardeners.
However, their advantage over red worms is that they can stand a low food supply.
What’s the Difference Between Nightcrawlers and Earthworms?
Nightcrawlers come above the surface at night, when grasses have dew, or after heavy rain. The latter is usually present in most composts and under other material kinds.
An earthworm usually grows to 1-2 inches and has a reddish-brown color hence the name red wriggler. Earthworms are the top choice for vermicomposting as their castings are great fertilizers.
Nightcrawlers are much bigger, with adults growing even past 8 inches. They’re also greyer in color. This makes it easy to differentiate between these two worms.
Final Remarks
Developing a nightcrawler bed is easy. All you need to know is how you’ll fulfill the needs and maintain the ideal conditions for your worm beds.
If you properly care for your nightcrawler bins, you’ll, in turn, get high-quality compost quickly.
Besides, you may later use them as fishing bait or sell them to anglers if you aren’t one. Not to mention, worm castings are excellent organic fertilizers for plants. Breeding them is also a perfect way to recycle your organic matter.